Scrounging together a Homelab during a Silicon Shortage
At some point after trying to expand the number of services I was hosting in my intercontinental cloud-hosted Kubernetes cluster, I started to realize just how much I was paying for not that much computing power. 8GB of RAM, 2 vCPUs, and 200 GB of storage for $50/month? Not the worst, but when you consider that you can buy a single Raspberry Pi 4 with those specs and it will pay for itself in two months, it becomes unpleasant to justify…
There was a time in the past that many cloud providers seemed to provide an excellent price to performance ratio, and the painless scalability and uptime guarantees were certainly nice as well. While it’s hard to tell how much is due to inflation, market-cornering, or a rose-tinted perspective of the times that were, nowadays, the ROI of just buying your own equipment seems to be much more economical. More importantly, it’s a lot more fun. So, that’s exactly what I did, and this is my devlog from that experience.
scarcity
Now I mentioned the Raspberry Pi 4 at the beginning as a prime example of a readily-available, good price-performance ratio computer that you can get started building a home lab with. Unfortunately, it is currently 2022, in the midst of one of the worst chip shortages the planet has seen. All the most popular resources for hobbyists to get started with computers in their own homes are basically unobtainable, from the Pi 4 to Ubiquiti’s entire line of affordable network gear. Trying to build this now using low-cost gear might be impossible…which should make for an interesting challenge to say the least. 😈
At the high level, here are the goals:
- build an isolated 2-3 node k8s cluster on my home network capable of supporting my current k8s workloads (~10GB RAM, 4 CPUs, ~200 GB storage)
- spend as little as humanly possible (~$200)
- keep total power consumption under two light bulbs (~120 watts)
- do all of the above all while in a midst of a massive chip shortage
reduce, reuse, recycle
To have any chance of accomplishing this, I have to dig up every last piece of old computer equipment I have out of storage and try to use as much existing hardware as I can. In this process I found not one, but three bulging laptops that needed to be disposed of, which is a shame since I definitely could have repurposed them. Among the list of other interesting things that I may be able to repurpose:
- two SATA SSDs, both around 250 GB
- an OLD desktop computer that originally ran Windows Vista (Intel Core Duo and 8 GB of RAM)
- a tiny 5-port unmanaged switch, tp link
- plenty of ethernet cables
With only this to work with, I needed to plan carefully. Normally to meet those requirements, I would need to find something with the price / performance ratio of a new Raspberry Pi, but without access to any, is there anything comparable (and more importantly, obtainable) out there?
compute
Eventually, I set my sights on Intel’s Next Unit of Computing line of mini PCs. Introduced in 2012, the Intel NUC has long been a favorite of homelabbers, but they are still far from as inexpensive as a Raspberry Pi…these are fully equipped PCs, just smaller, and the newer models will run upward of hundreds to even one thousand dollars! That said, there are some truly hidden gems in their expansive product line, especially if you buy an extremely old model as a headless board off of an aftermarket seller.
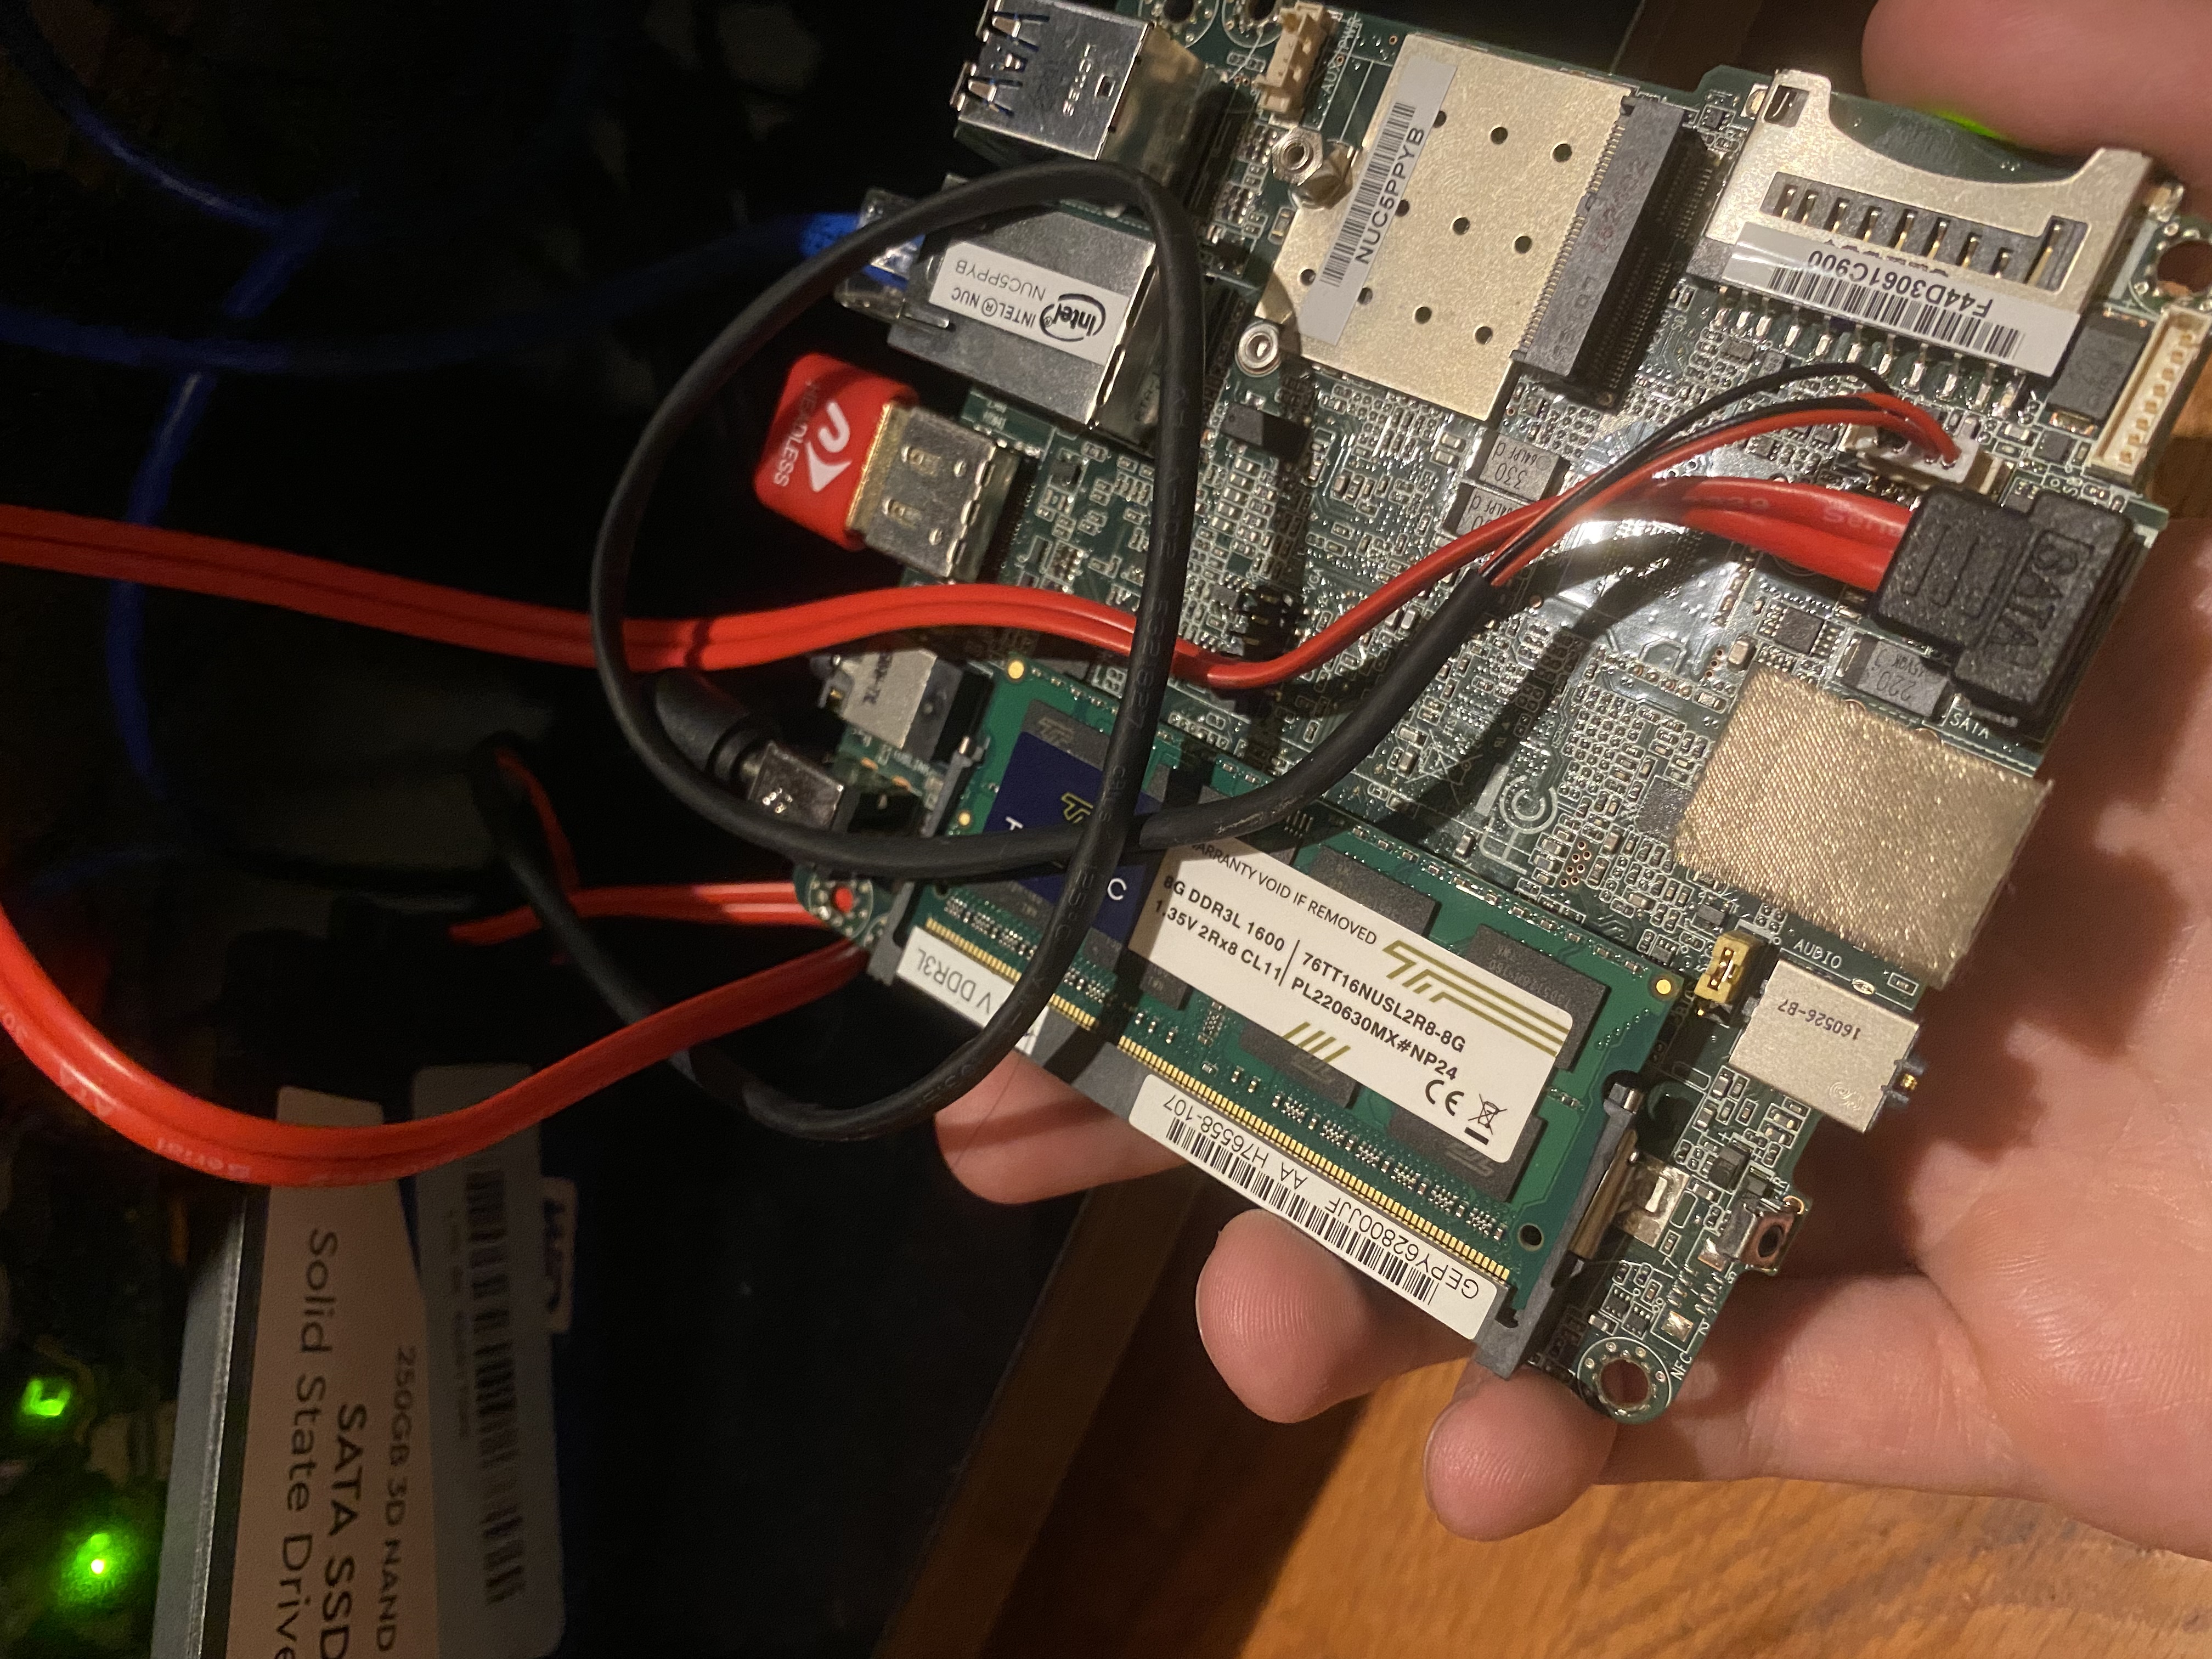
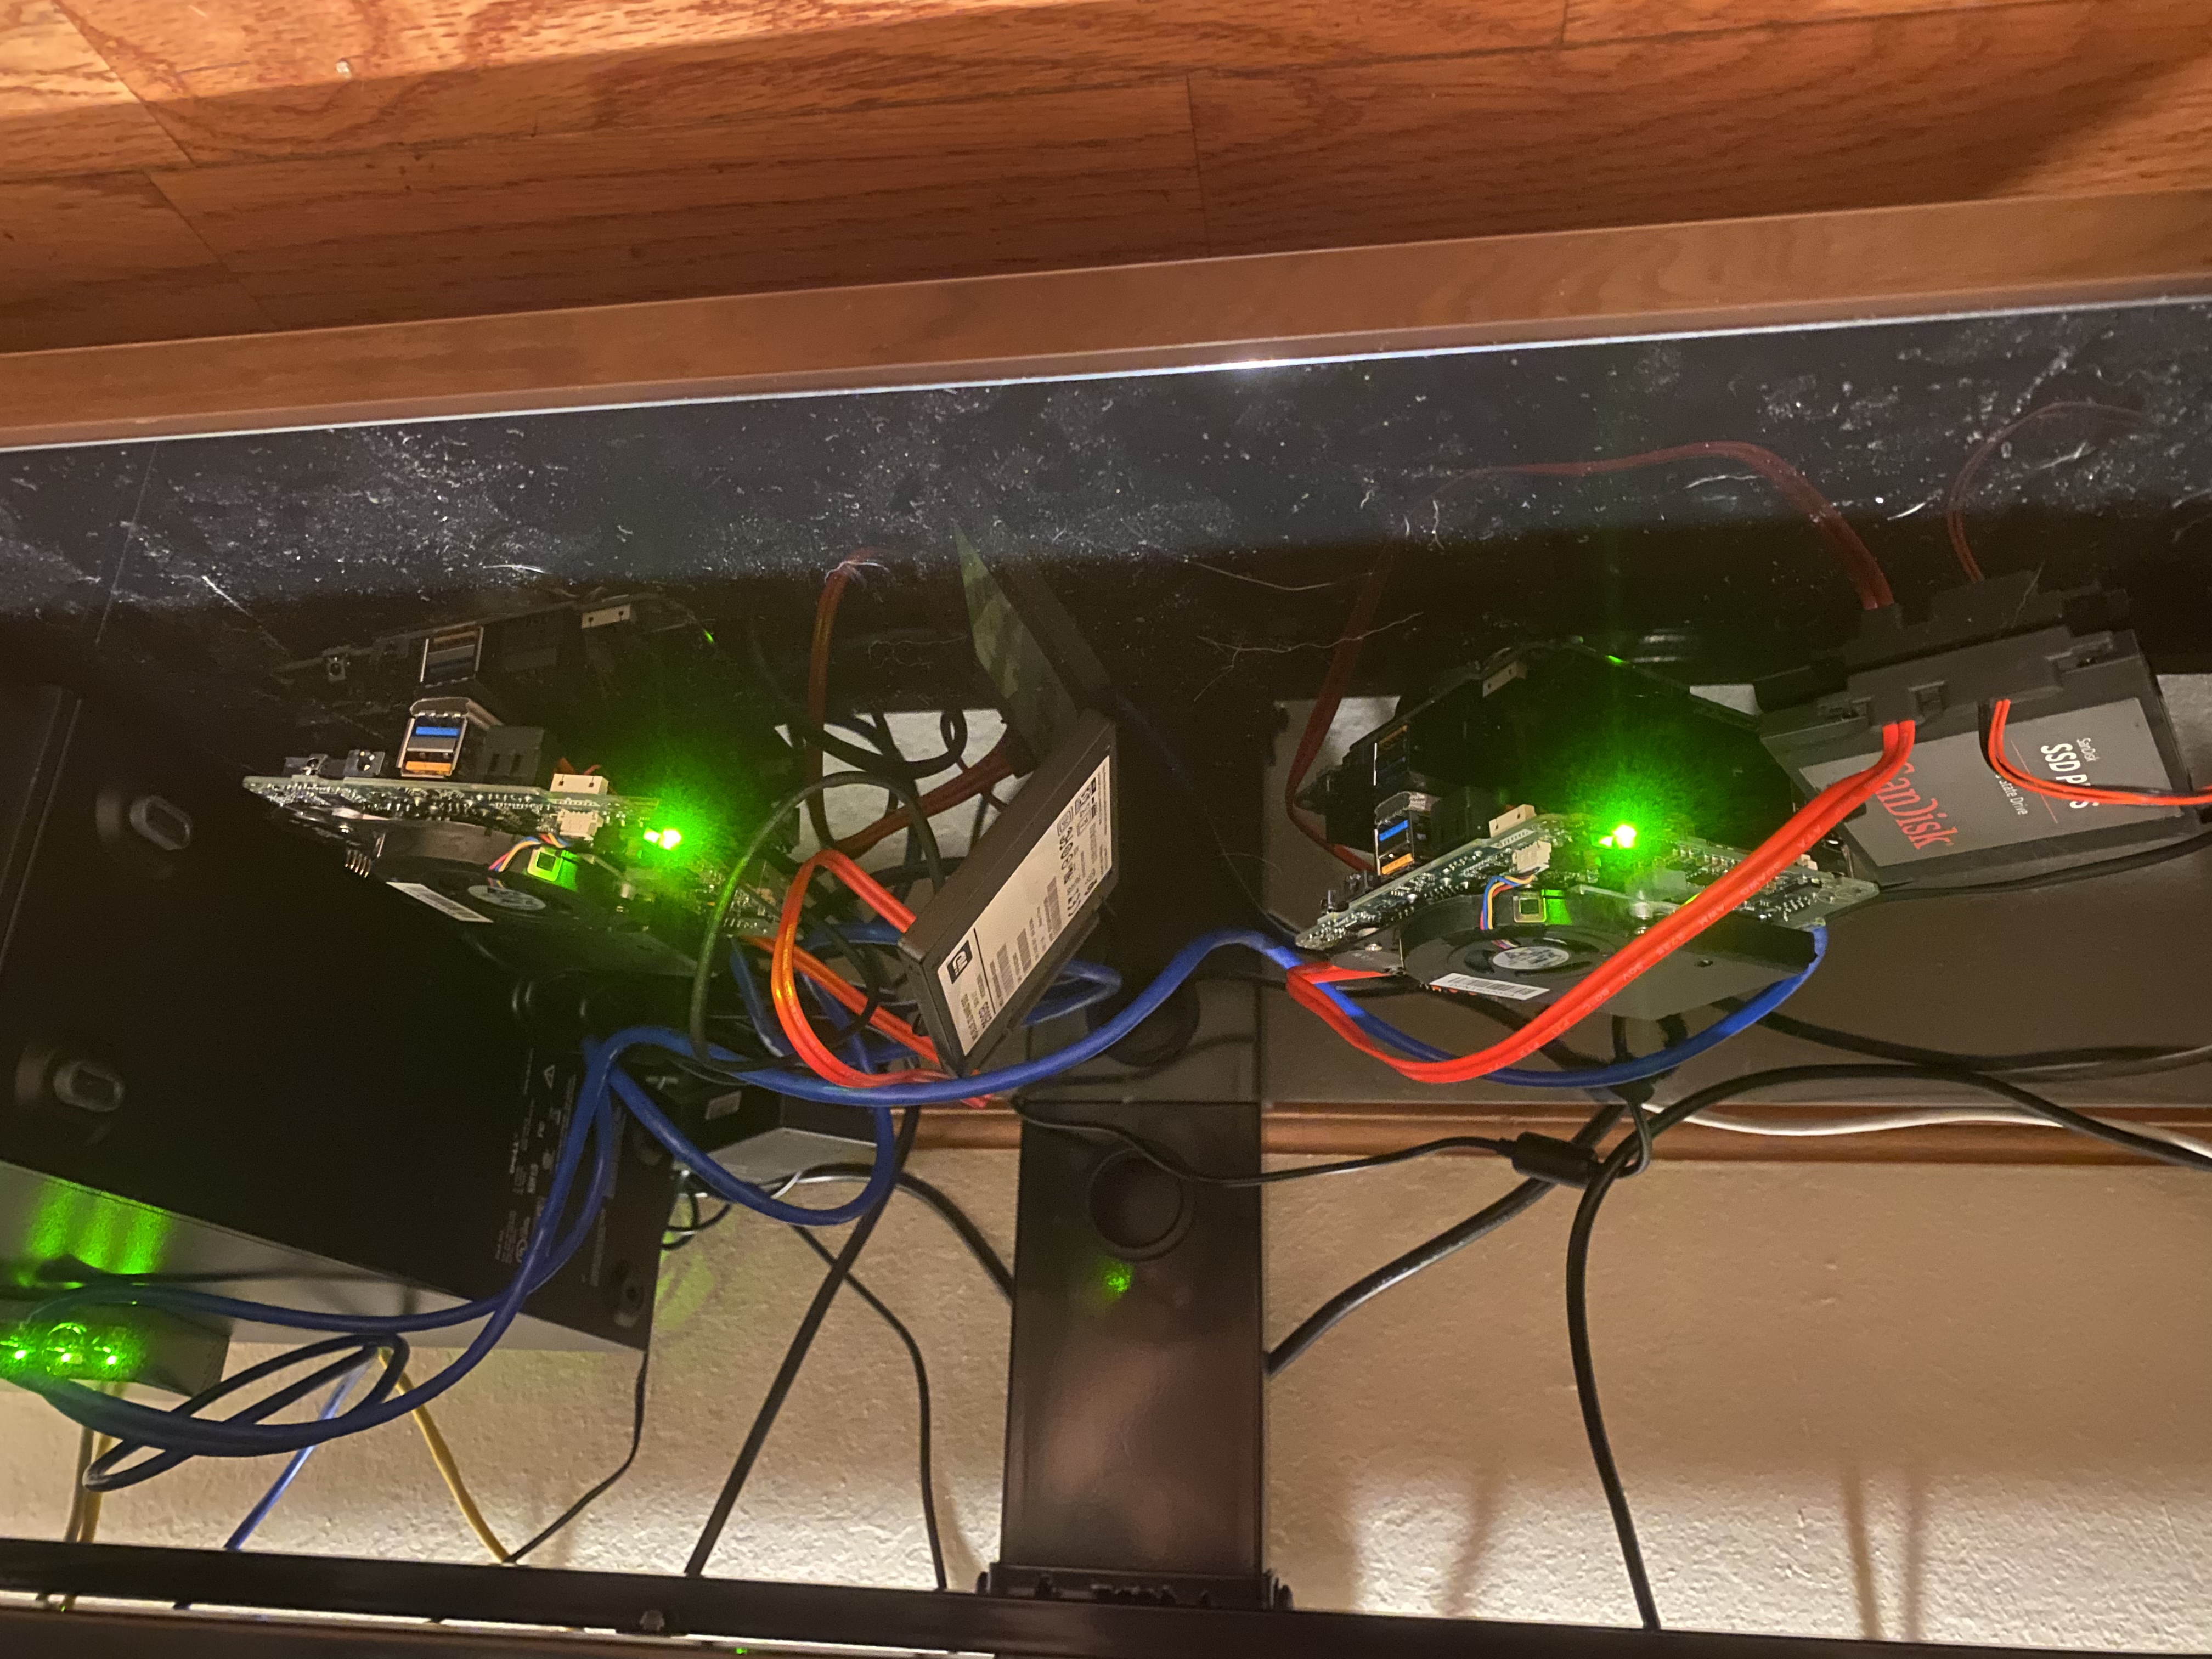
This unloved hunk of PCB from 2015 can be purchased off of Amazon for only ~$48 a pop. While it doesn’t come with the bells and whistles of a Raspberry Pi (no built in memory or power supply), it’s exactly what we’re looking for: a miniature laptop motherboard with a high degree of compatibility with existing PC parts, which should allow us to take advantage of any parts we already have. It complete with an x86_64 dual-core processor (which is good for compatibility on k8s), can be outfitted with up to 8 GB of cheap, laptop grade DDR3L SODIMM memory, has a gigabit ethernet port, and even has a SATA port for a fast storage device (no running our clusters on an SD card).
The plan is to buy two of these bad boys, then buy a cheap 16GB / 2 laptop RAM kit to put 8GB into each one. By reading the product datasheets, we can follow that up with a couple of inexpensive laptop power cables with the exact wattage and plug measurements to match the NUCs.
To connect the SSDs we have and use them for storage, we will need a special cable to bridge the NUC’s unconventional onboard peripheral power plug to the drives themselves. While I could have whipped this up, since I only need a couple, and they’re fairly cheap, I just bought some ready-made ones on Amazon.
networking
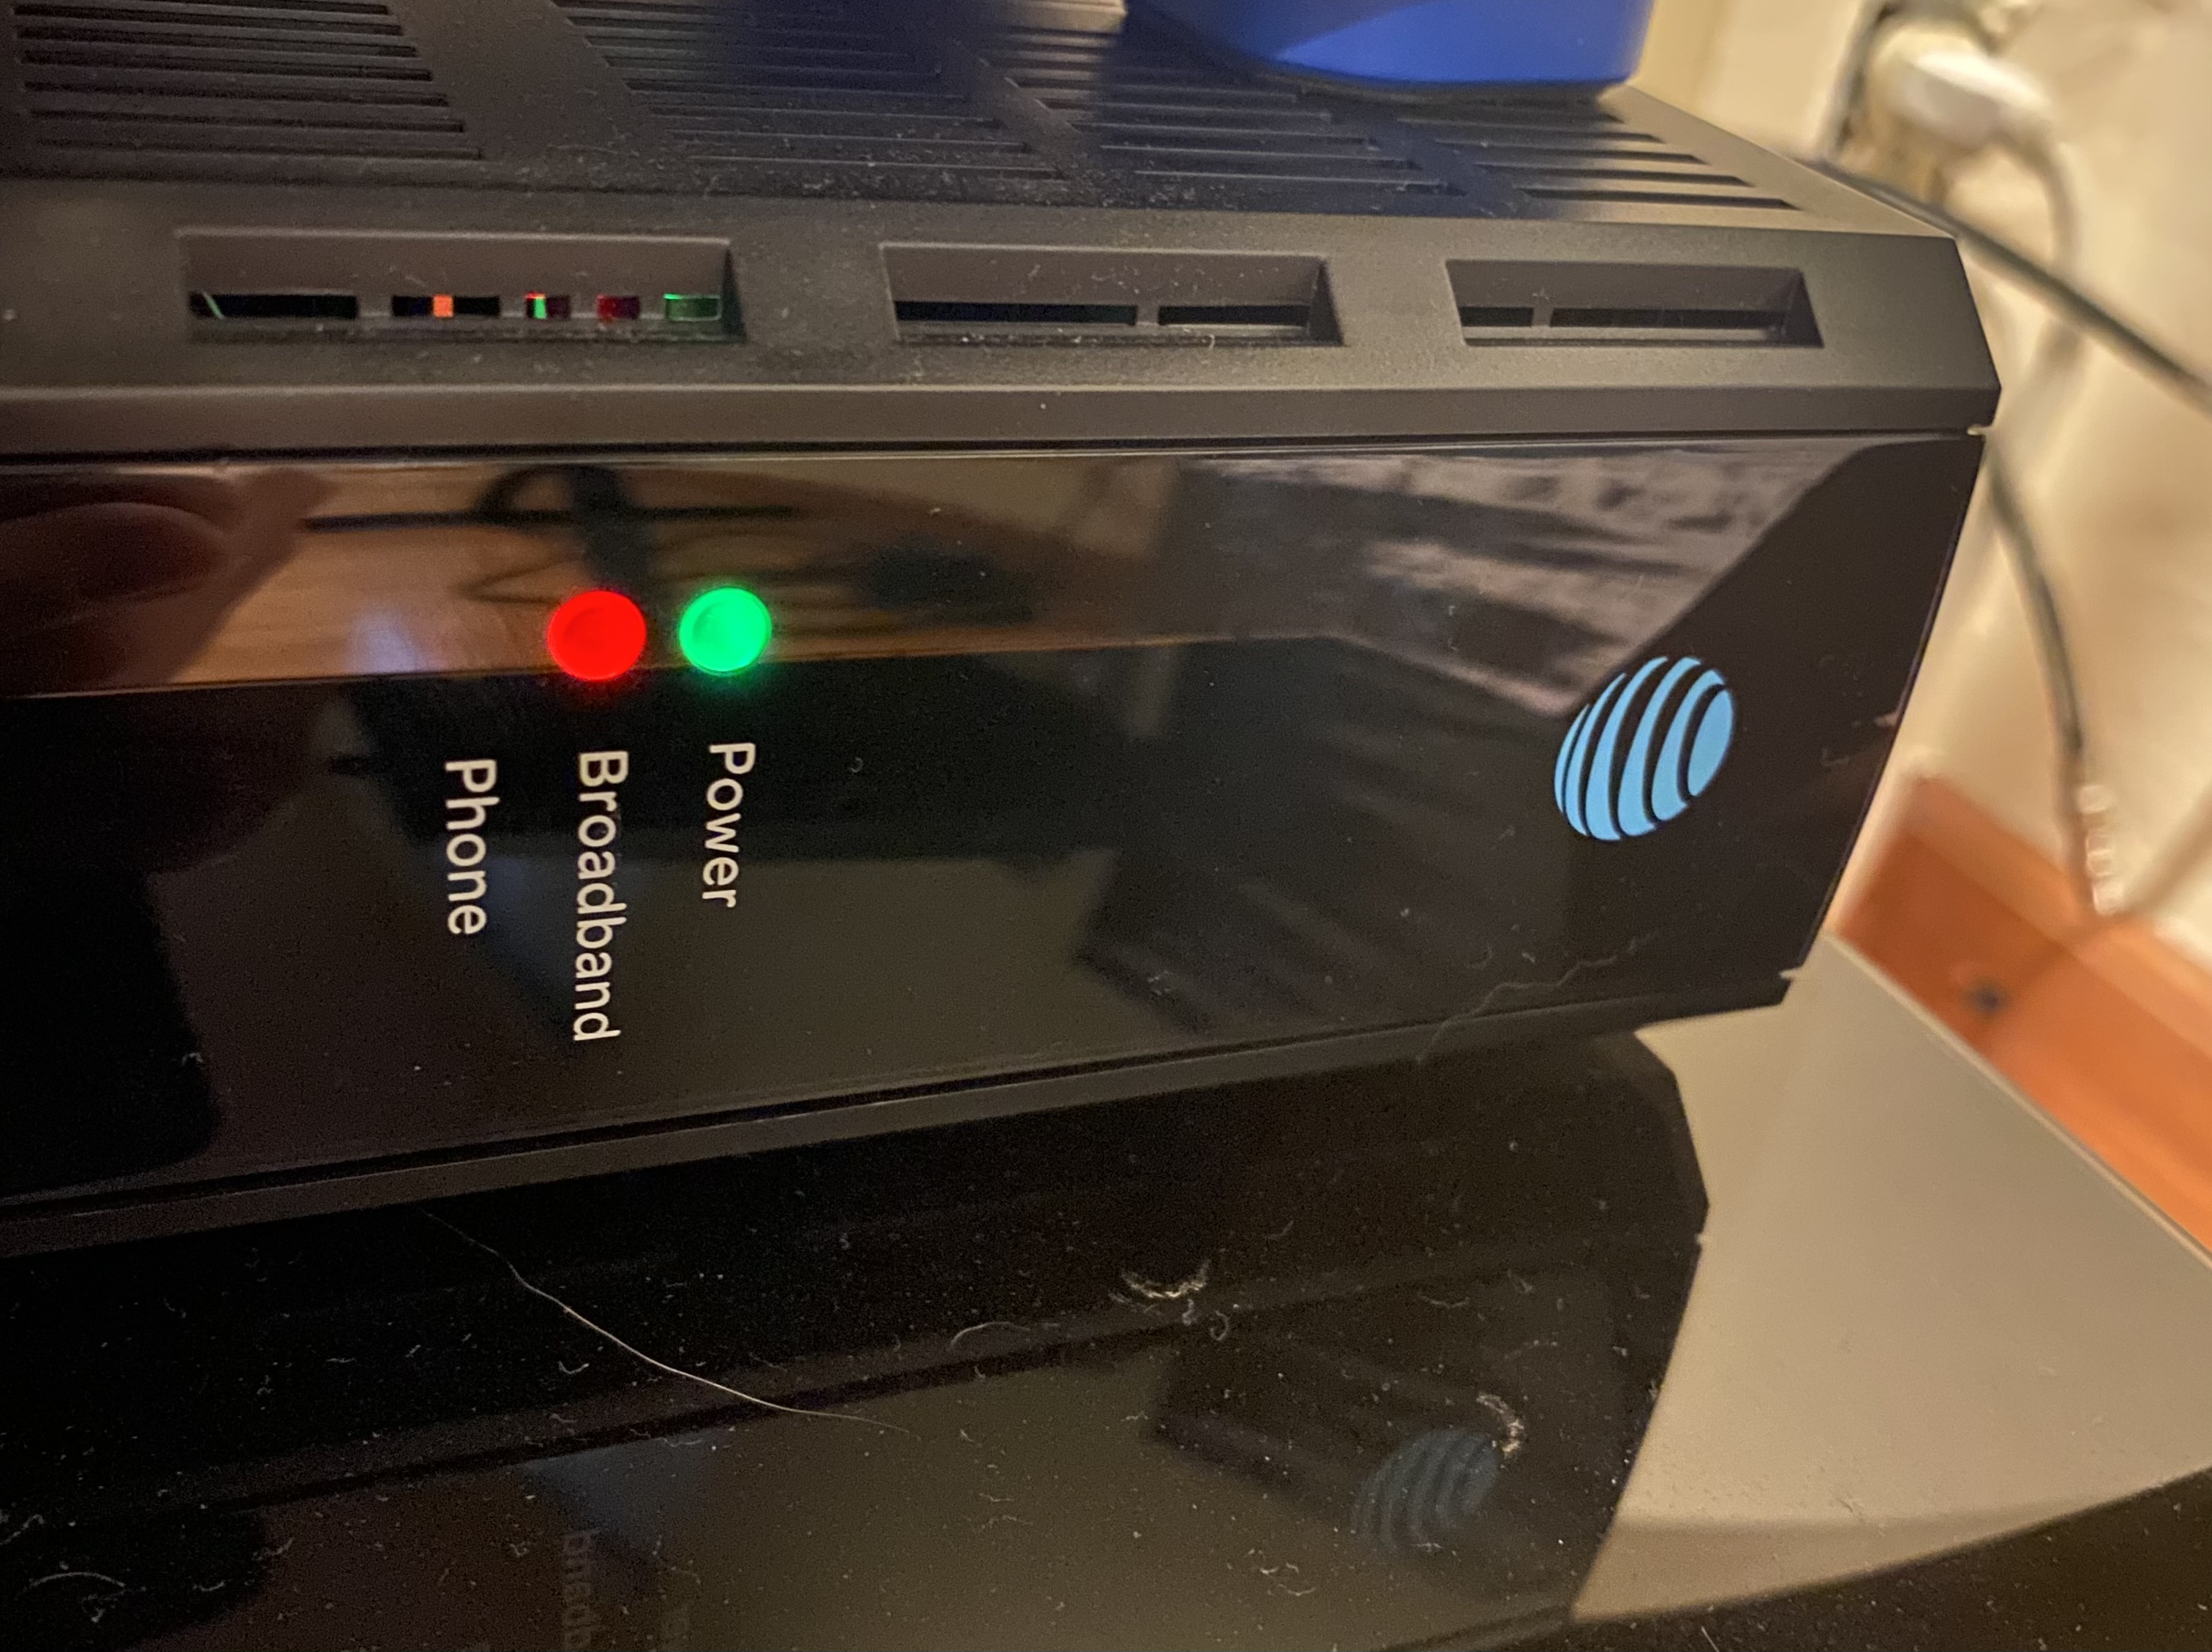
Lastly and despite my best efforts, I will probably need to worry about networking. The thought of having Kubernetes traffic on my home device LAN is not attractive, and unfortunately my current home router from AT&T lacks the level of configurability and granularity to set up a VLAN to contain the traffic. I need some way to cheaply gain complete control over my home network while still having a wireless network for most of my home devices and cutting AT&T’s router out of the picture.
Unfortunately, AT&T will not allow you to use any other router, their equipment will actually perform a private certificate exchange to uniquely authenticate and reject anything else I plug into the wall.
To bypass AT&T and use our own router anyways, there are a few public techniques we can use. We will be using the least invasive option, a technique called PFATT. For this, we will need a commercial grade router and run pfsense on it, which is a very trusted open source routing operating system.
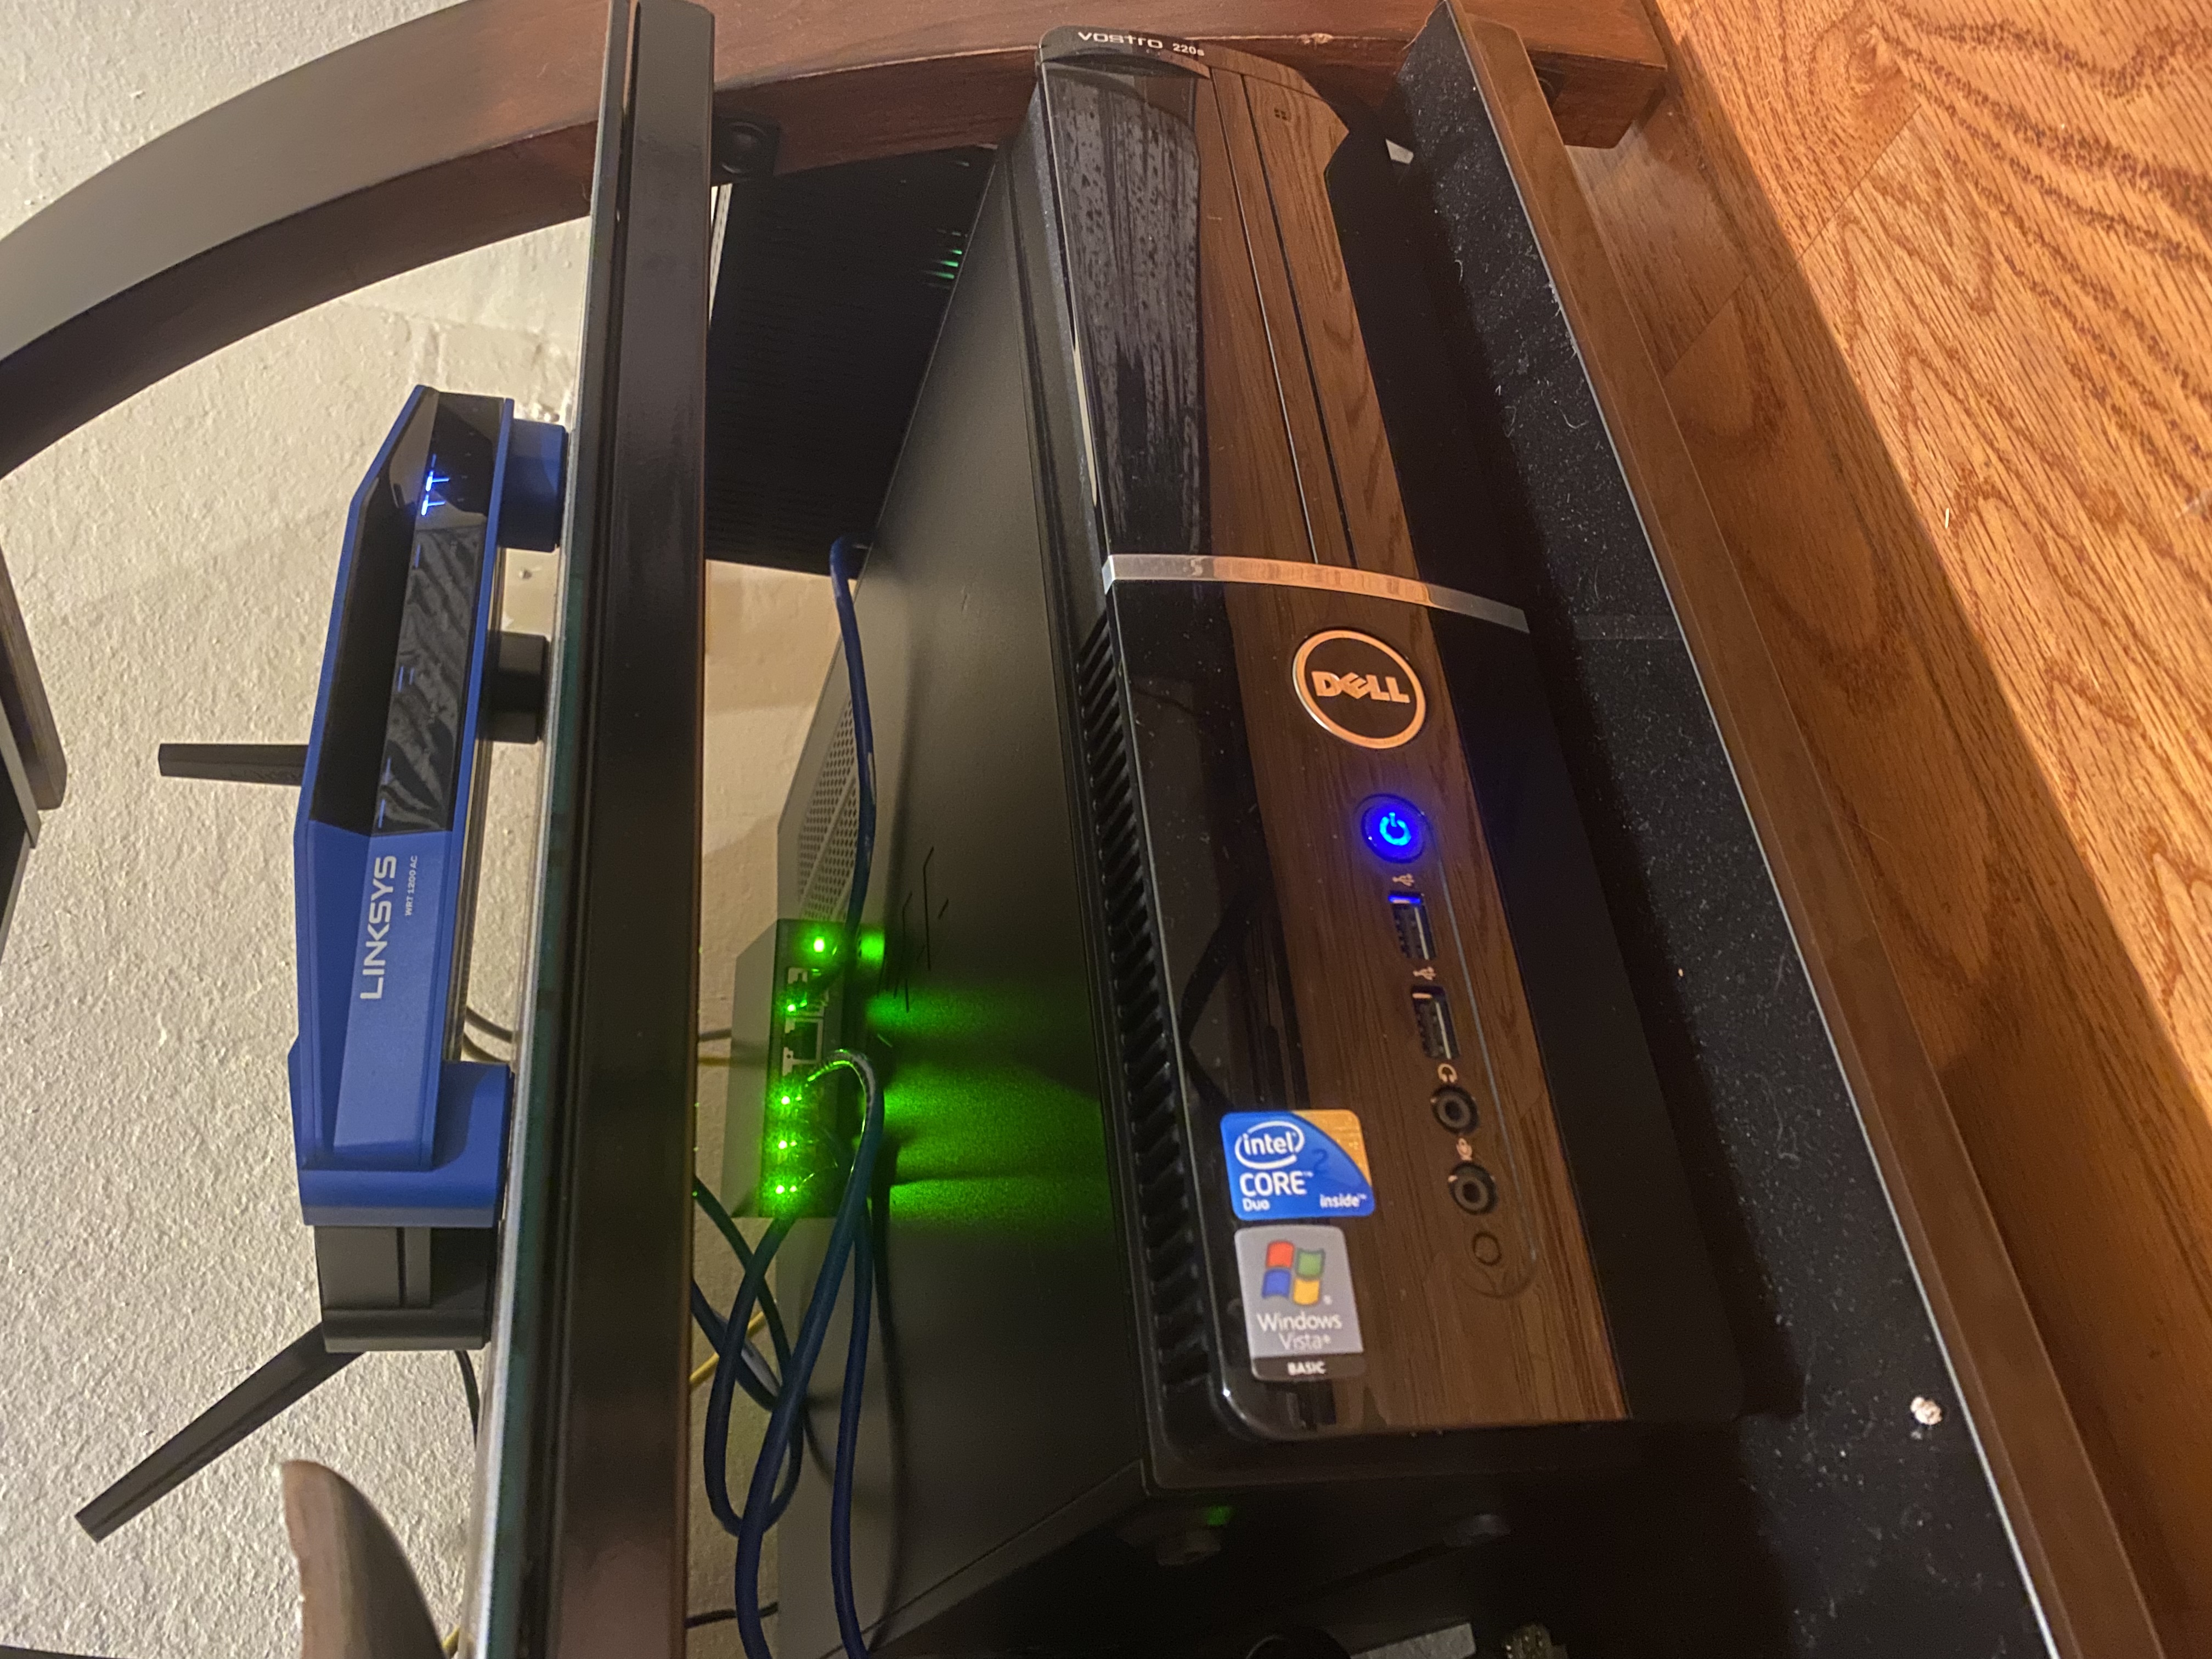
To this plan we will be making a few changes in the interest of time and money: we’ll actually be running opnsense, a fork of pfsense that is easier to manage. Additionally, instead of buying a commercial grade router we can run opnsense on, we will turn my ancient DELL desktop running Windows Vista into a router by cheaply adding just a couple of gigabit ethernet ports into an open PCIe slot. Once the DELL box has three ports, it can be used as our hub: one for the WAN, one for the AT&T box, and one will go into the tiny 5-port unmanaged switch I had lying around to get the remaining ports for my LAN.
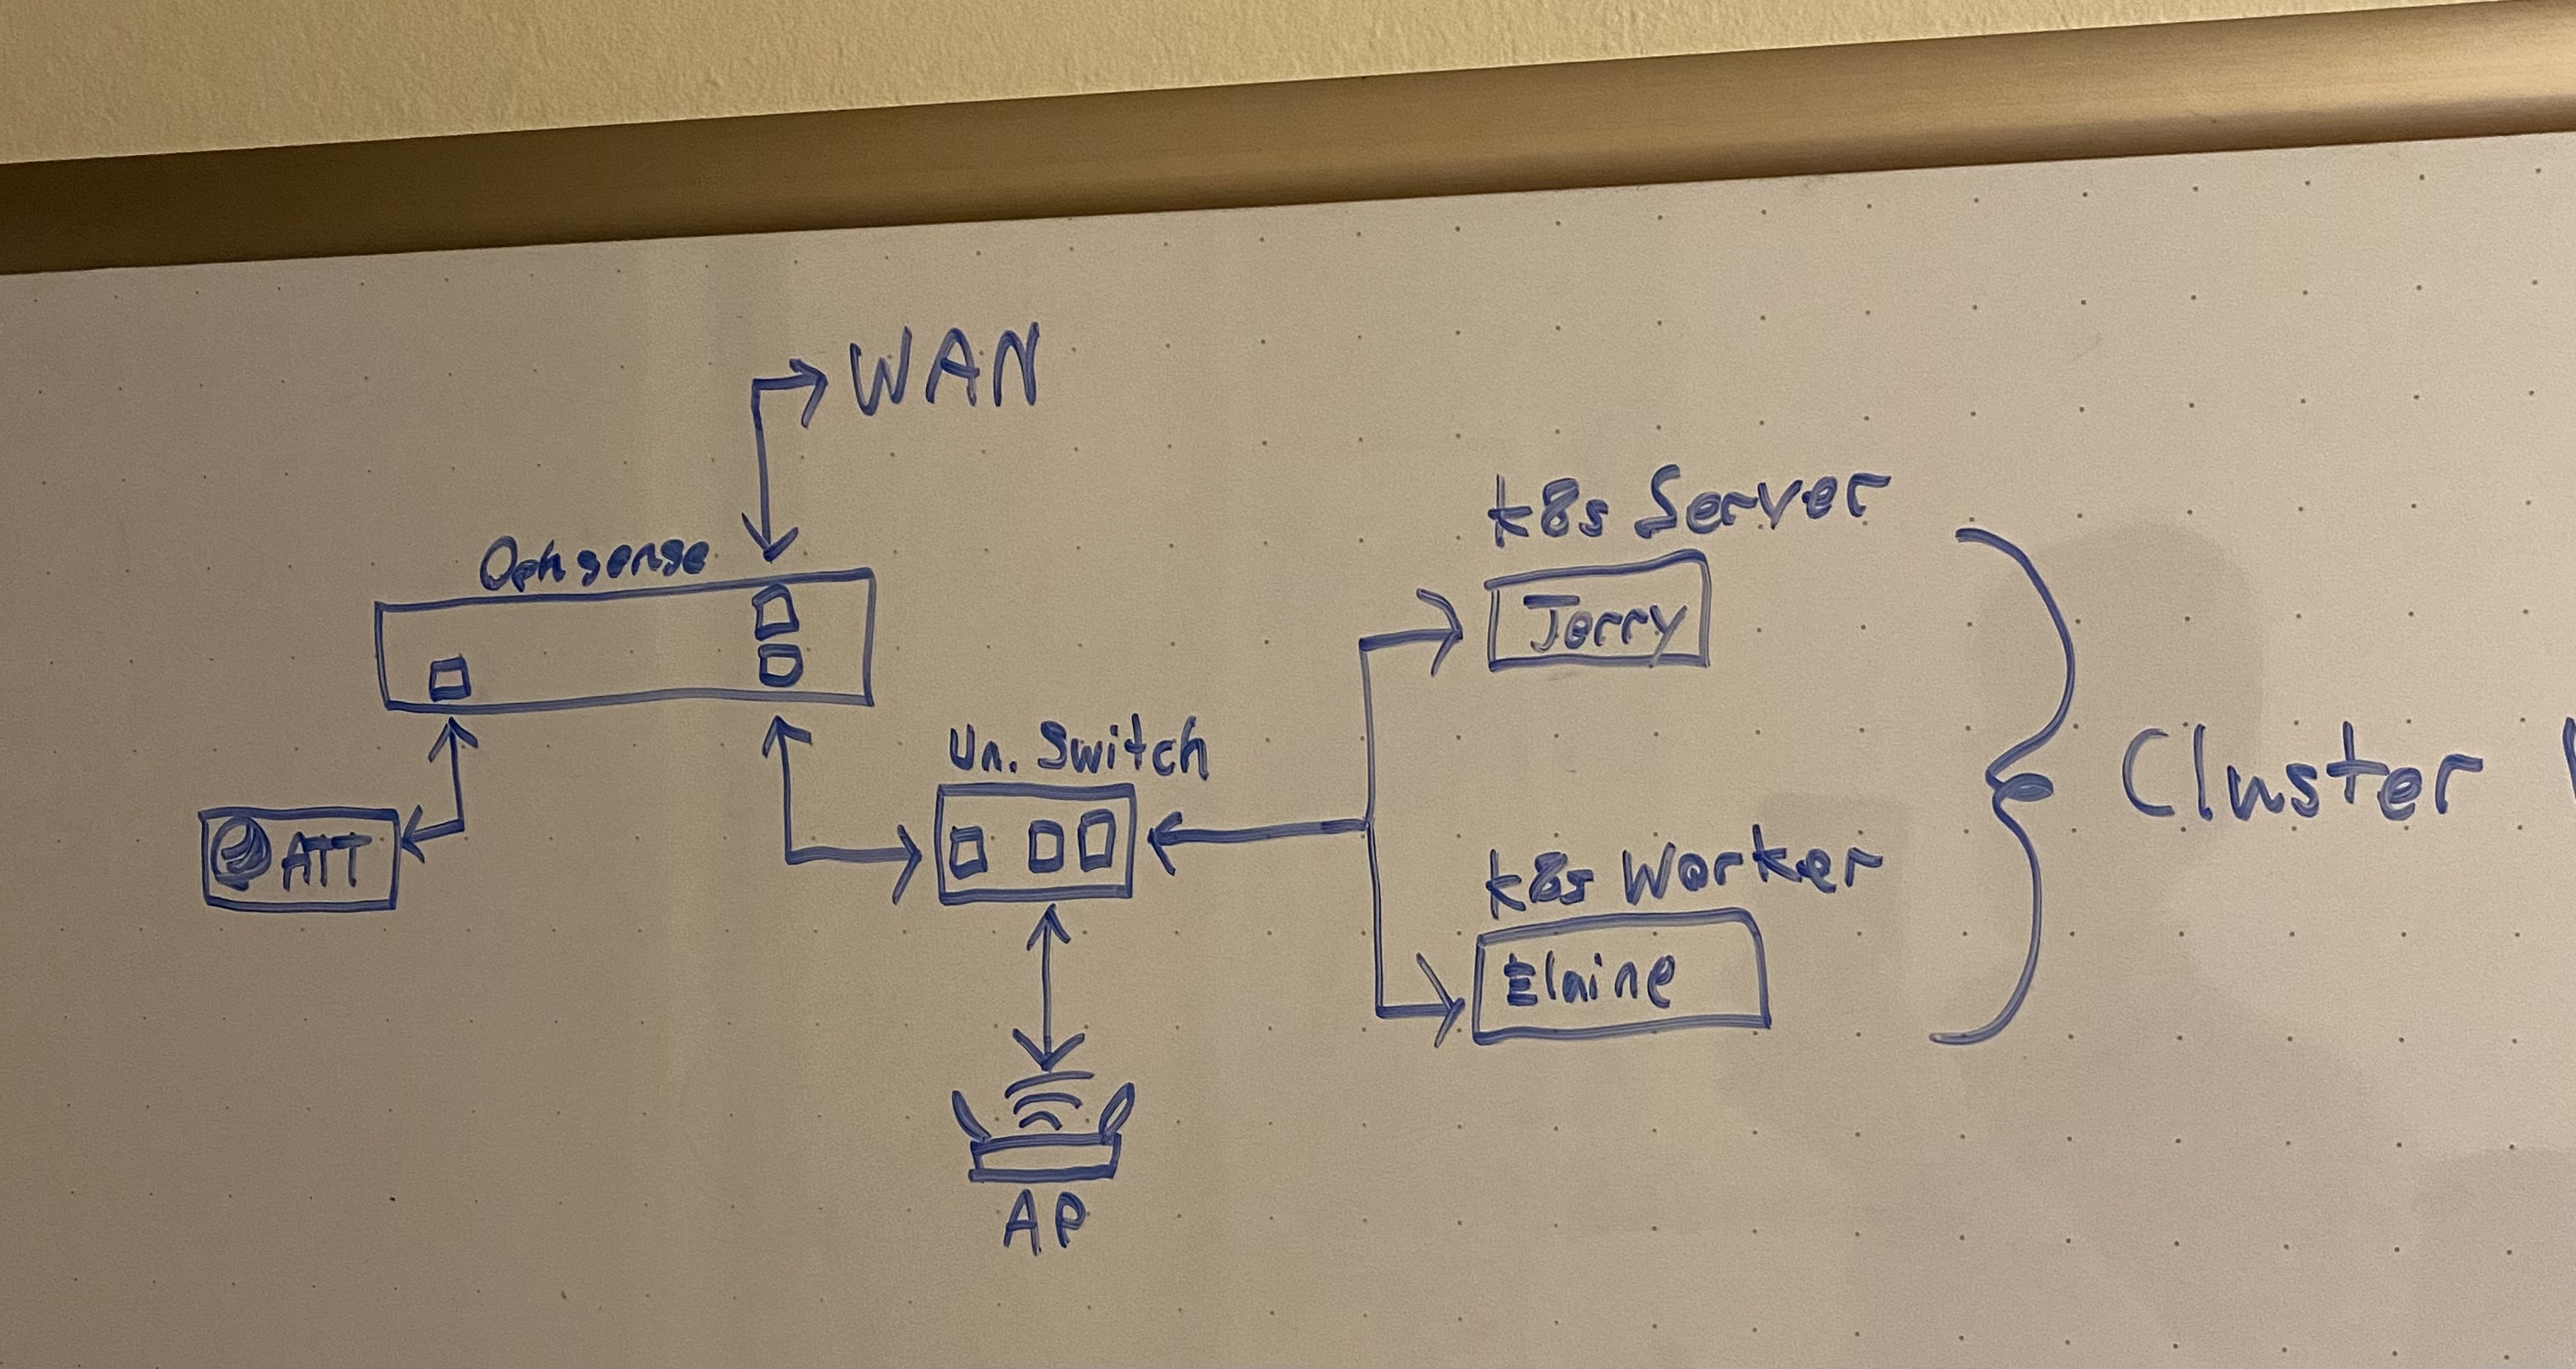
This arrangement is not strictly ideal: realistically, I would much rather have a managed switch where the unmanaged switch is so I could place the home device network and the cluster network both on their own VLAN, but as it is, due to the home devices undergoing double-NAT, they are at least effectively isolated from the cluster network itself. This will have to do for now, but in the future, it would be nice to buy a shiny new switch and AP…
One last point: in the sacred tradition of homelabs everywhere, we will need to decide on a host naming scheme for our infrastructure. The primary goal is to keep people guessing if the names are intentionally ironic or just cringe; toeing the line to be as ambiguous as possible is key.
After consulting carefully, I decided to name my infrastructure hosts after the cast of Seinfeld.

upfront
| Intel NUC N3700 x 2 | core compute nodes | $95.72 |
| 2x8GB DDR3L-1600 SODIMM | laptop ram, 8GB per NUC | $38.99 |
| Laptop 65W 5.5x2.5mm Power Supply x 2 | power supply for the NUCs | $25.68 |
| NUC SATA Cables x 2 | special NUC cables to use SATA drives | $16.42 |
| PCIe Two Port Gigabit NIC Card | NIC expansion card for the router PC | $34.99 |
After grabbing everything we need, if we avoid buying anything that isn’t absolutely necessary, we will have a disheveled, perfectly functional loose pile of electronics for a grand total of $211.80.
Perhaps in a future article and when I’m in a better financial place, I can detail the process of buying/building more robust storage, housings, cosmetics, or quality of life additions, but for now, there’s 🙃 no 🙃 reason 🙃 we shouldn’t be able to get this working.
execution
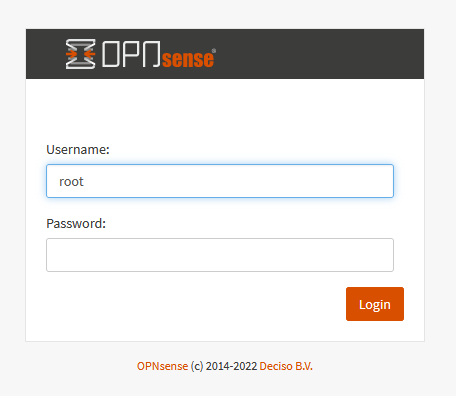
First, we need to see if we can get the opnsense “router” managing the home internet connection.

After trying and failing for 2 hours to get the old PC to boot from a flash drive (MBR, GPT, etc), I finally tried the Hail Mary of just using a different flash drive. It worked. Check your storage medium health, kids.
Fortunately, Opnsense detected and used the new intel ethernet ports and the old Realtek port (shudder) without any fuss. Trying to Indiana Jones my ATT Residential Gateway gave me a few hours of trouble but remarkably, 24 hours after drawing my network map, I had it up and running. Open source truly has changed the world.
Once the router is, well, routing, there are a few additional configurations I am going to make in order to get the most out of managing my own network.
First, I enabled UnboundDNS and broadcasted it via DHCP,
also turning on DHCP Lease Registration and DHCP Static Mappings. This lets us do things like,
if there is a host on the network with hostname larry (as in, Larry David, of course),
I can connect to it automatically from anywhere on the LAN like so:

In UnboundDNS, I also turned on some useful blocklists,
saving me from running a Pi-hole later.
I chose Abuse.ch, AdGuard, EasyList, EasyPrivacy, and StevenBlack/hosts.
Second, I want to get PXEBoot working since it might make initial installation of our NUC operating systems easier. Also, it’s just cool to have.
Getting this working is a bit easier than you might think.
You just need a TFTP server running on the Opnsense box with the right files.
In the Opnsense UI, you can go to System > Firmware > Plugins and search for and install os-tftp.
Then, under Services > TFTP > General, enable it and have it listen on the router’s LAN IP address,
in my case, 192.168.1.1.
From there, I’m going to use an Ubuntu box to create the files and folder structure
I need for the TFTP server before I use scp to copy them over.
# we'll form the structure we need in the ~/pxe folder
# we will support both bios and efi64 booting
mkdir -p ~/pxe/{bios,efi64}
# the syslinux bootloader we'll want to use can be downloaded like so
sudo apt install pxelinux syslinux-efi -y
# copy the bootloader files (admittedly more than we need, but no harm done)
sudo cp /usr/lib/syslinux/modules/bios/* /usr/lib/PXELINUX/pxelinux.0 ~/pxe/bios
sudo cp /usr/lib/syslinux/modules/efi64/* /usr/lib/SYSLINUX.EFI/efi64/syslinux.efi ~/pxe/efi64

# we'll obviously need the Rocky Linux installation media...
wget https://download.rockylinux.org/pub/rocky/9/isos/x86_64/Rocky-9.0-x86_64-boot.iso
mkdir -p ~/pxe/boot/amd64/rocky/9
# we can mount the iso to access its contents and copy them over
sudo mount -o loop -t iso9660 Rocky-9.0-x86_64-boot.iso /media
sudo cp -r /media/* ~/pxe/boot/amd64/rocky/9
sudo umount /media

# create the pxelinux configuration, we'll populate later
mkdir ~/pxe/pxelinux.cfg && touch ~/pxe/pxelinux.cfg/default
# symbolic links let us reuse the same syslinux configuration for both bios and efi64
ln -s ../pxelinux.cfg ~/pxe/bios && ln -s ../pxelinux.cfg ~/pxe/efi64

# finally, copy everything over to the tftp root on Opnsense
scp -r ~/pxe/* knox@larry:/usr/local/tftp
Once the relevant syslinux and installation media files were copied over,
I populated the syslinux configuration on the Opnsense server at /usr/local/tftp/pxelinux.cfg/default like so:
DEFAULT vesamenu.c32
PROMPT 0
MENU TITLE PXE Boot Menu (Main)

LABEL local
  MENU LABEL Boot from local drive
  LOCALBOOT 0xffff

MENU BEGIN amd64
MENU TITLE amd64

  MENU BEGIN Rocky
    MENU TITLE Rocky Linux
    LABEL installrocky
      MENU LABEL Install Rocky Linux 9.0
      KERNEL ::boot/amd64/rocky/9/isolinux/vmlinuz
      APPEND initrd=::boot/amd64/rocky/9/isolinux/initrd.img inst.repo=https://download.rockylinux.org/pub/rocky/9/BaseOS/x86_64/os/ quiet
  MENU END

MENU END
Most of the above configuration is adapted via trial and error from the original iso’s syslinux configuration. I also made heavy use of this guide for the underlying principles.
Lastly, we just need to get Opnsense’s DHCP service to tell clients about its PXE boot functionality, which we can do in the UI under Services > DHCPv4 > [LAN] like so:
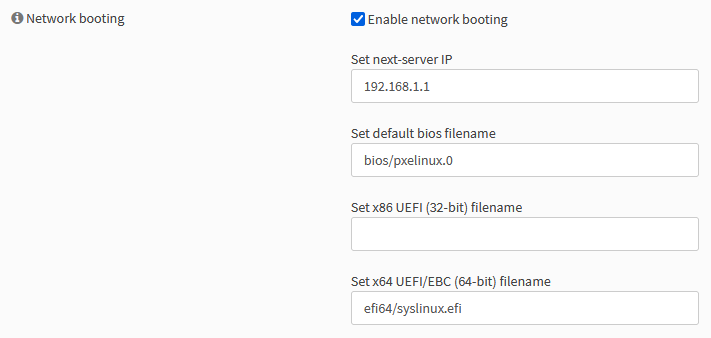
Surprisingly, the NUCs cooperate with this PXE setup out-of-the-box, we just need to plug everything in. After booting and going through the installation process, have Rocky Linux 9 Minimal installed on both NUCs. If I wanted to speed this up even more, I could create a kickstart file to do an unattended installation, but for two nodes that’s kinda overkill. Maybe next time.
k8s node setup
After installing a Minimal installation of Rocky Linux and ssh-ing in, on both nodes we perform roughly the same setup process, detailed below. In an enterprise setting, I might create an Ansible playbook to set these up for me, but there are some subtleties in how we need to install k3s and there’s two nodes total, so we’ll just do it manually to start with.
# auth once with a password and install your ssh key
ssh-copy-id knox@jerry

# then, on the node, disable password auth
echo "PasswordAuthentication no" > 00-password-disable.conf
sudo mv 00-password-disable.conf /etc/ssh/sshd_config.d/
sudo systemctl restart sshd

# update packages, etc
sudo dnf update
# https://docs.k3s.io/advanced#additional-preparation-for-red-hatcentos-enterprise-linux
sudo systemctl disable firewalld --now
# install open-iscsi and nfs-client for longhorn installation later
sudo yum --setopt=tsflags=noscripts install iscsi-initiator-utils -y
echo "InitiatorName=$(/sbin/iscsi-iname)" > initiatorname.iscsi
sudo mv initiatorname.iscsi /etc/iscsi/
sudo systemctl enable iscsid --now
sudo yum install nfs-utils

# install k3s as a server node on jerry
# we disable the built-in KlipperLB to run MetalLB later
curl -sfL https://get.k3s.io | K3S_KUBECONFIG_MODE="644" sh -s - --disable servicelb
In order to install k3s as a worker node in the same cluster on the other NUC, we’ll need a token from the server node.
# grab the token on jerry
K3S_TOKEN=$(sudo cat /var/lib/rancher/k3s/server/node-token)

# on kramer
curl -sfL https://get.k3s.io | K3S_URL=https://jerry:6443 K3S_TOKEN=$K3S_TOKEN sh -
Then on either node, we can check to see if the cluster is up and running:

conclusion
Once both nodes are members of the cluster, we can manage everything else we need to do with the cluster via any kubectl-compatible tooling. In my case, I like Terraform with the Kubernetes provider.
At this point the article could quickly pivot from a k8s cluster homelab setup devlog into a deep dive on the subjective universe of k8s cluster management. I’ve chosen to cut this particular post short in favor of focusing on the setup side of things.
If you’re interested in what I would personally do next, I would probably go this route before deploying my actual services:
- Longhorn - used as a plug-and-play distributed storage provider
- MetalLB - load balancer implementation
- k8s_gateway - a DNS server that my opnsense router will defer to for cluster resolution on my LAN
- kubernetes-dashboard as a PoC to show services can be deployed and accessed
Clearly this is all overkill for a simple homelab, but in its own twisted way that’s just even more in the spirit of homelabs.
I’ll leave it there for this article, but I think we can call the operation a success!